Search This Blog

Friday, February 17, 2017

Electrical tape decorations

 Easy projects with only $1 worth of supplies!

Dollar tree 2-pack black electrical tape.  

Project one: decorating under the breakfast nook:
Use a ruler to make sure the lines are straight. 


Project two: decorating inside my front door:
I started this door 3 months ago but instead of finishing it I just stare at it lazily. Ill update it one day.
And I did it only 1 day later!!!!!

Sunday, February 12, 2017

Just a little bit random

 Random crafts just to pass the time:


 New Years Ornament:
So Kristina and I crossed off something on our bucket list: New Years Eve in Time Square, New York!
And man did we wait 8 hours to barley see the ball.
The lesson here is to expect to wait a lot longer (I'm guessing 12 hours ahead) to get a decent place in the masses to see the ball. 
 Anyways one of the goals for the night was to collect confetti and Kristina had the bright idea to put it in an ornament for the Christmas tree. So I scavenged the dirty New York ground on 7th Avenue and 52nd Street at 12:01 am for the covenanted confetti. 
Materials:
  • New York New Years Eve confetti (stains and all)
  • Clear plastic or glass ornaments (2-pk plastic balls at Dollar Tree)
  • Permanent marker
  • Glue or puffy paint
  • Glitter

First fill the ball with confetti. On one of the larger pieces of confetti I wrote out my resolution (to be happy) just in case I open this ball one day and go threw it. 
Then I drew out the classic triangle design like the actual New Years Eve Ball with permanent marker. 
With puffy paint I wrote out the year (2017) and the location (NYC) and sprinkled on silver glitter.
Ta da,
 I'll always remember that cold night of waiting and eating frozen free pizza (from a great person also standing in the masses).


Gold flower pots:
Materials:

  • Gold spray paint ($3.86 at Walmart)
  • Clay pots (2-pk at Dollar Tree)
  • White rocks (Dollar Tree)
  • Cactus ($3 a piece at Walmart)
I think its pretty self explanatory:
Spray paint the pots 2x's, add a couple of rocks to the bottom to help prevent root rot, re-plant the cati, add rocks around the cati but be careful of the spikes and then place them in a well calculated area for all of your guest to enjoy while also meeting the needs of the cati's vitamin D.

Friday, February 3, 2017

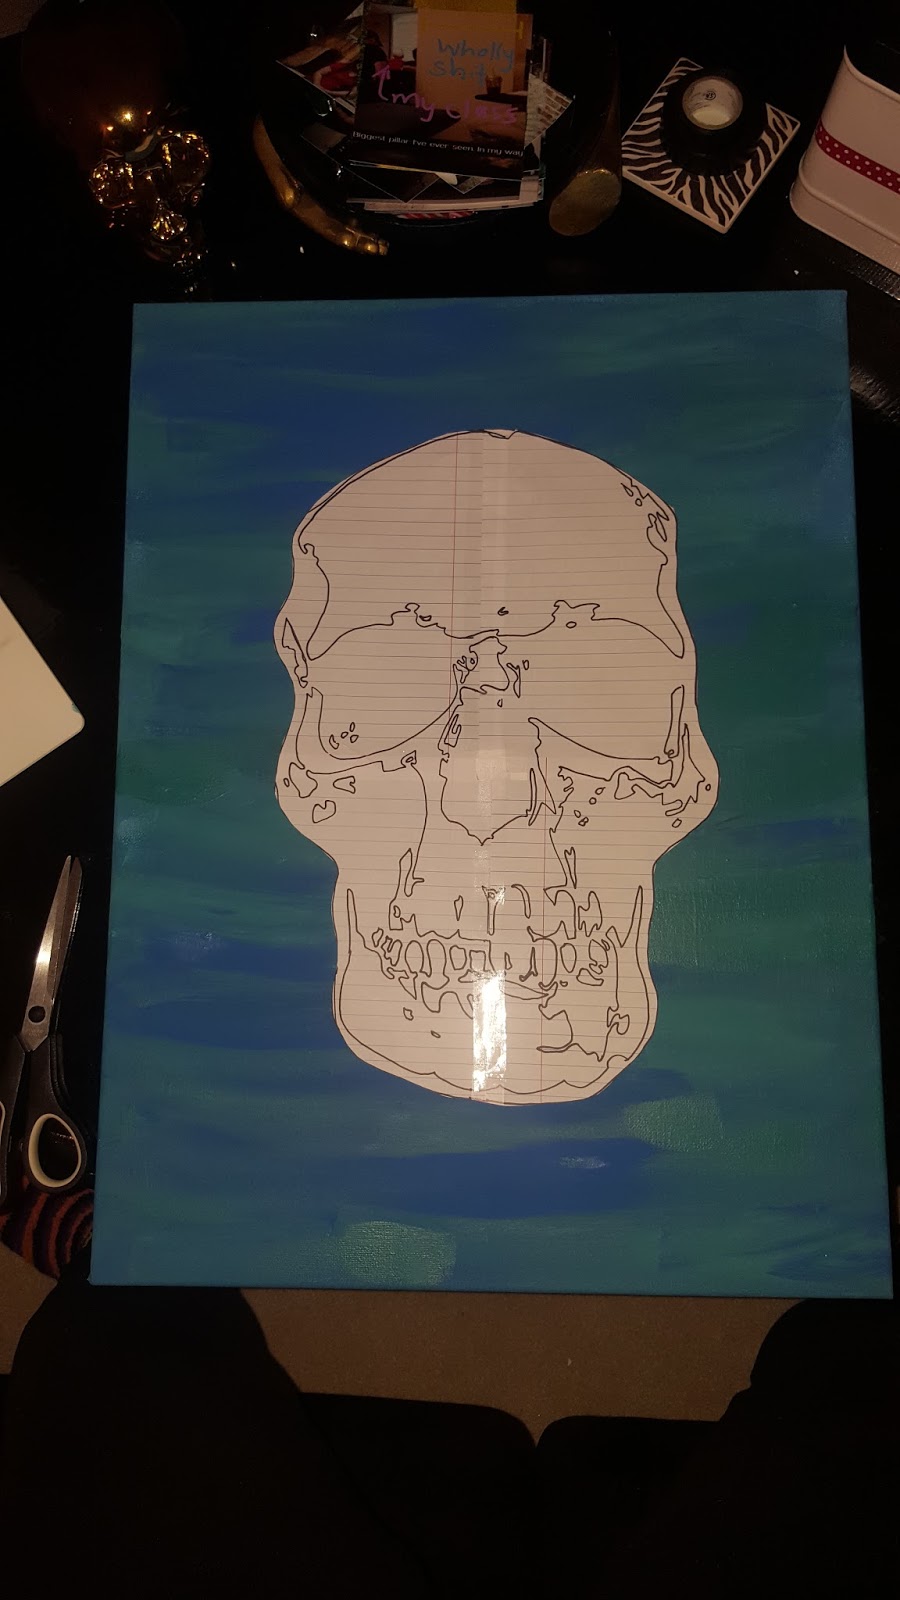
Kristina's annual late Christmas gift: Sherlock's Skull


Kristina and I share a love for skulls.
Each Christmas she picks out a skull for me to paint (usually an ugly one in my opinion, : ))
This year its Sherlock's Skull which I'm not aware of the background to this
option, she likes the movie so I'm assuming its in the movie... 
anyways I'm using an old already painted canvas (as usual) and adding my own little touch of her favorite picture she sent me.
The background in the picture was teal so I mixed a couple of blues but gave it a patchy look. 
 Then I made an outline and cut it out.
 This part took a while since I cut it out with an exacto blade.
I outlined in black permanent marker. 
 Almost finished, just needs some touch ups.
I added a blue hint to parts of the skull and added a nose bridge bone since I liked it better. 
Done! Only 2 months late.

Wednesday, January 25, 2017

From this to that: Picture frames into candle lantern


DIY picture frame candle lantern:
I had a bunch of frames laying around and luckly had four frames that were all the same.
Materials:
  • 5 picture frames with at least four matching ($1 at Dollar Tree)
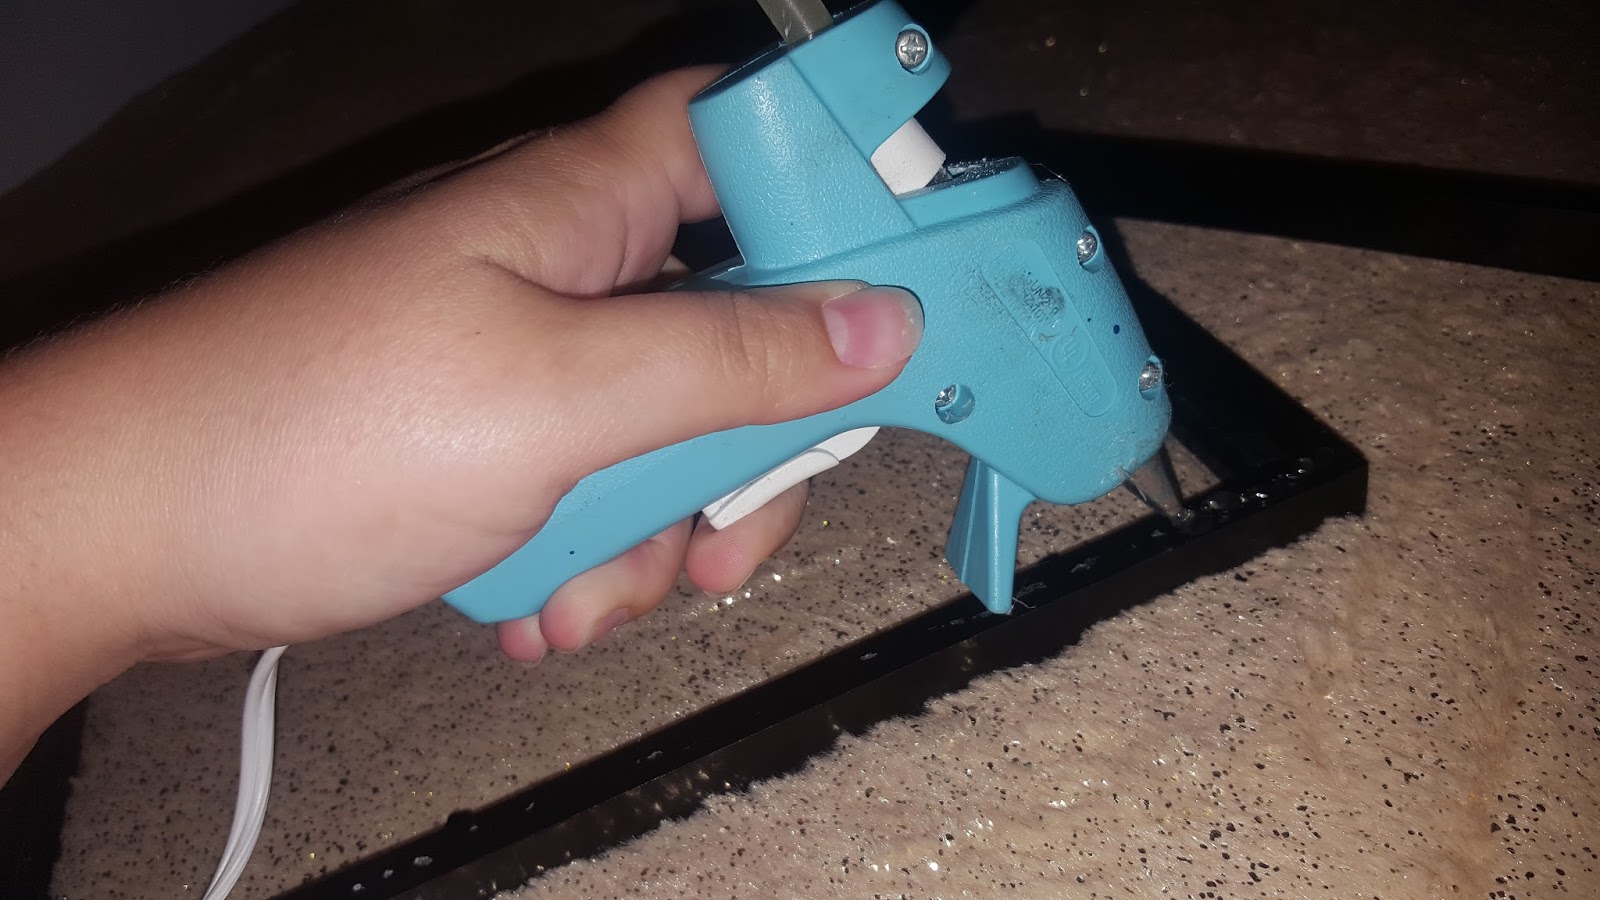
  • Hot glue gun
  • Ribbon (optional)
  • Candles to decorate
First pop out all the backings to the frames. 
Hot glue each frame together, making sure to glue more on the inside when the square is set up to make it more stable. 


For the top use the fifth frame and break it down into four pieces.
Two of the pieces will be longer so I easily broke them down to the same size. Hot glue each side into a pyramid shape. 
To cover some of the glue marks I glued on black ribbon. 
I set it up in my bathroom and added various candles. 
When I lit the candles I was concerned that the topper would catch on fire. I burned them for a couple of hours and the top was only semi-hot but I wouldn't leave this alone just in case.

Sunday, December 25, 2016

Christmas cards from paint samples

 So I moved 

and its Christmas time!
Why not make a card and let everyone know?
Materials:
  • Paint chip samples (Green & red for the holidays) - from Lowes
  • Holiday picture with the new place in the background (size 4x4) - from Walmart $0.29 each
  • Glue stick
  • Mini bells and ribbon
  • Markers/pens
Originally I found the paint chip idea here and I put my own little spin on it. 
The paint chip already had square cut outs and when I glued them together to make a pouch my picture (size 4x4) fit perfectly as a preview. 
I took a picture in front of my new place with my roomie, Timmy the mannequin. A lot of my friends know of Timmy but on the back of the picture I explained that I adopted Timmy almost 3 years ago and that he is a retired GAP model. I think it makes the Christmas card just a tad bit funnier. 
 I printed out my pictures from Walmart and their instant picture machine gave me the option to add a boarder and text for free. 
 On the front I wrote "I've Moved! Also Merry Christmas".
And on the back "Have a wonderful New Year!"
Just add holiday drawings and a mini bell tied in one of the cutouts with ribbon. 
Easy to make and only $0.76 each to make (including the stamp on the envelope).

DIY graduation tassel ornaments

 My graduation tassels have just been laying around and I found a great idea on Pinterest (shocker!)

Materials:
  • Large clear plastic ornaments ($0.98 at Walmart)
  • Tassel(s)
  • Puffy paint (optional)
I bought 3 ornaments since I had 3 tassels from Lyman High, Seminole State College, and University of Central Florida. 

 All you have to do is insert the tassel into the ornament but I had trouble with my UCF tassel since the charm was too large to fit into the top. For the UCF ball I cut into the side of the ball and pushed it in and then covered the cut with puffy paint.
 Poke a large hole inside the top of the foil ornament hanger so the tassel thread will fit through.
 The top of the tassel will be used to hang the ornament on the tree.
 After the tassels are all in place add decoration as you see fit.
 I drew on my graduation year and the school name/emblem.
And hang!

Just a little extra:
I finally hung up all of my degrees and I wanted to incorporate my graduation cords and medals.
 I gotta say I'm just showing off my work, : )

DIY Mary Sanderson Costume

DIY Mary Sanderson costume from the thrift store.                                     It's just a bunch of Hocus Pocus!  DIY video: Find...