Search This Blog

Tuesday, April 3, 2018

Cinder block planters for the backyard


When I first moved into my house I noticed an abundance of cinder blocks under my house. (Also 3 tires which I have yet to do anything with)
I have an odd backyard, it used to be covered by brown leaves and my landlord advised they finally uncovered an old deck and took it apart (leaving the foundation frame
My backyard when I started racking up the leaves.
I drug out all of the cinder blocks and decided to spray paint different designs and make them planters.
First I cleaned off the side of the blocks with a broom.
I used painters tape to make my designs and spray painted with gold, white, and black.
They dried very quickly (Also concrete is porous and you might need to spray another layer of paint if it looks like it disappeared).
Once they were all finished I lined them up on the foundation frame.
I added small rocks and concrete chips (also found under the house) since I did not want to fill up the whole hole with soil.
I cut up an old metal mesh trashcan from Dollar Tree into small strips and then fit them on top of the rocks to keep the soil from falling through (some still will). 
After filling the holes with soil I added the flowers.
I purchased my flowers from Lowes for around $1.25 each.
*My flowers are shade-tolerant since my backyard is covered by the branches of a neighboring oak(?) tree. 
Now I need to buy patio furniture : ( 

Tuesday, October 17, 2017

Yarn Tassel Wall Decor

 DIY Yarn Tassel Wall Decor


What you'll need:
That's Keanu the cat, he has to hang around on the table when I am using it of course. 
  • Yarn ($2 at Big Lots)
  • Rod with hanging string
  • Scissors


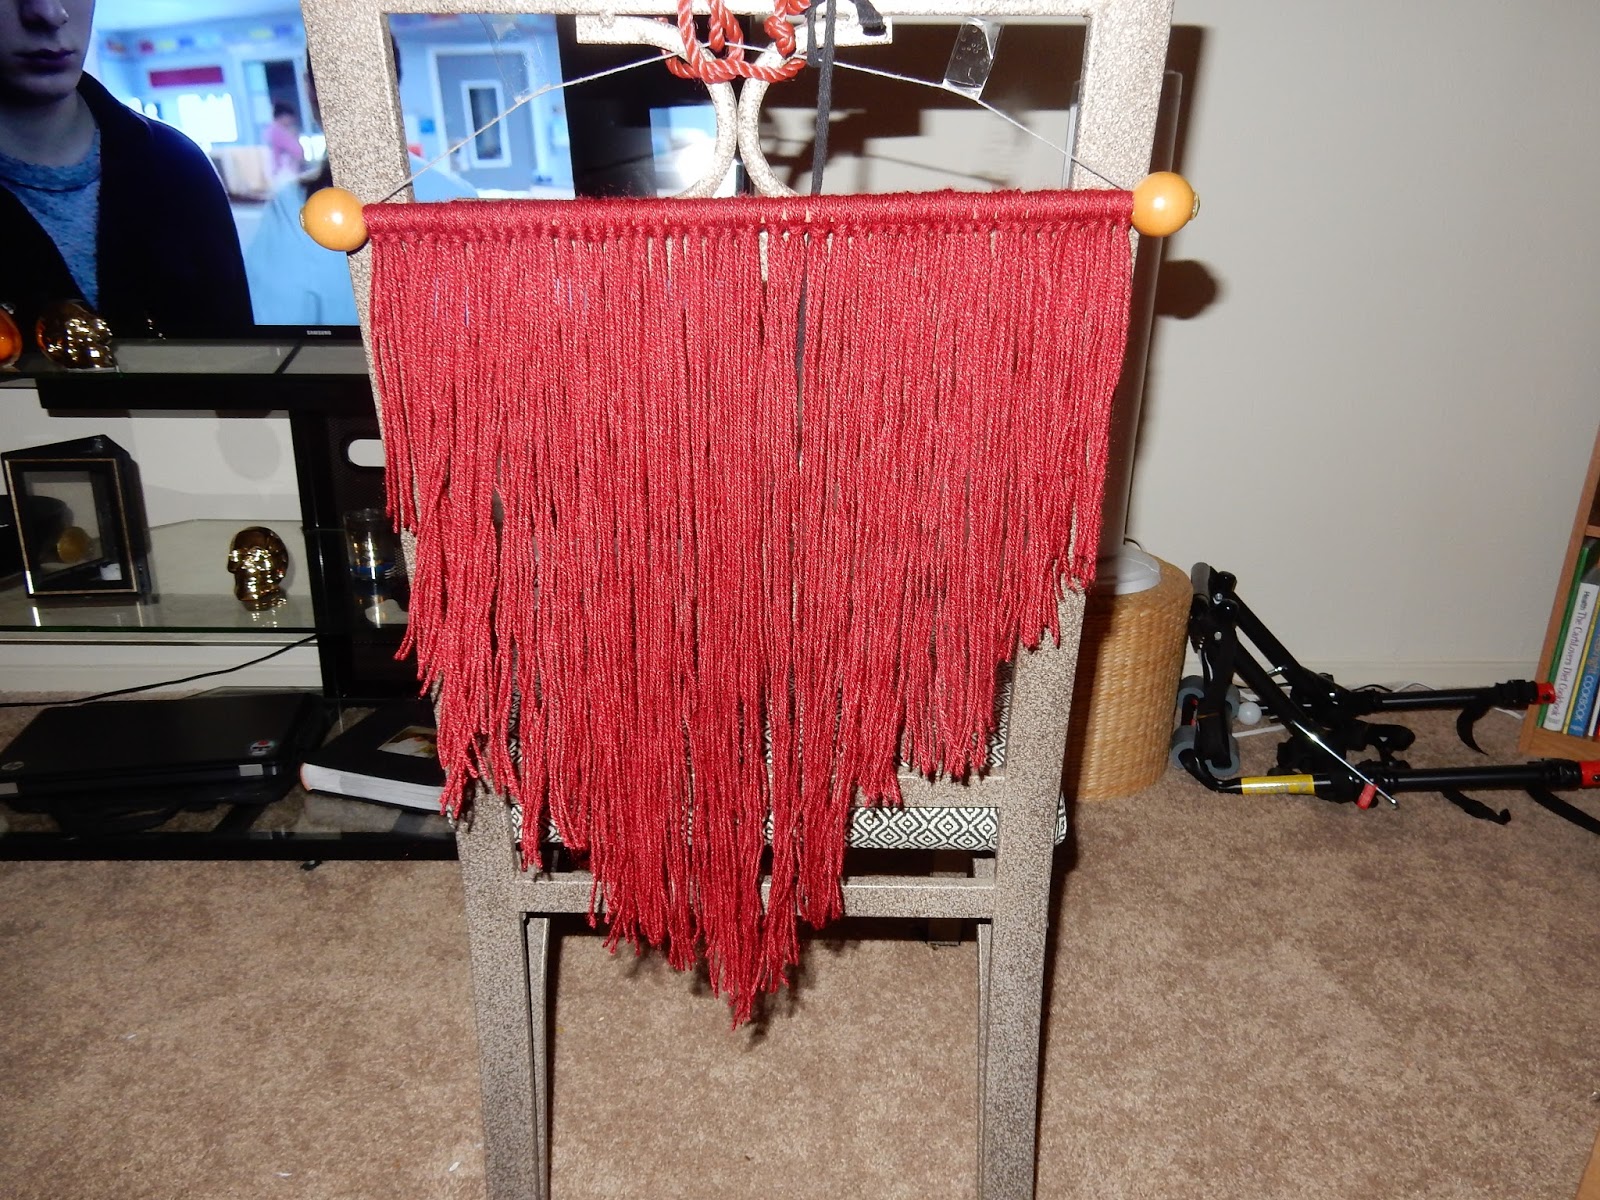
First I hung the rod up on the back of my chair for easier access.
Then I cut the string at various lengths. 
 And here is Keanu stepping over my stuff. 

Tie the strings in a "cow hitch" style onto the rod. 
Here is an example of two types of knotting, one string vs three strings. I preferred the three string style because it was less time consuming and the thicker style looked neater. 
Now that I added all the string it's time to cut the angle. 
I moved the rod to my wall and placed tape (hard to see in picture) on the string to make sure my angle edges were straight. 
And snip, snip, snip
Now lets make some tassels!
 I tied the tassels at different lengths and hung that BE-OTCH up. 
 

Tuesday, September 26, 2017

DIY Up-cycled T-shirt Pillows


Have a couple of old t-shirts that have awesome logos but are never worn?
Lets make some t-shirt pillows.
 First grab a shirt.
 Pin around the design with at least a 1-2 inch seam allowance and cut your shape. 
 Turn the shirt inside out and pin the shirt together. 
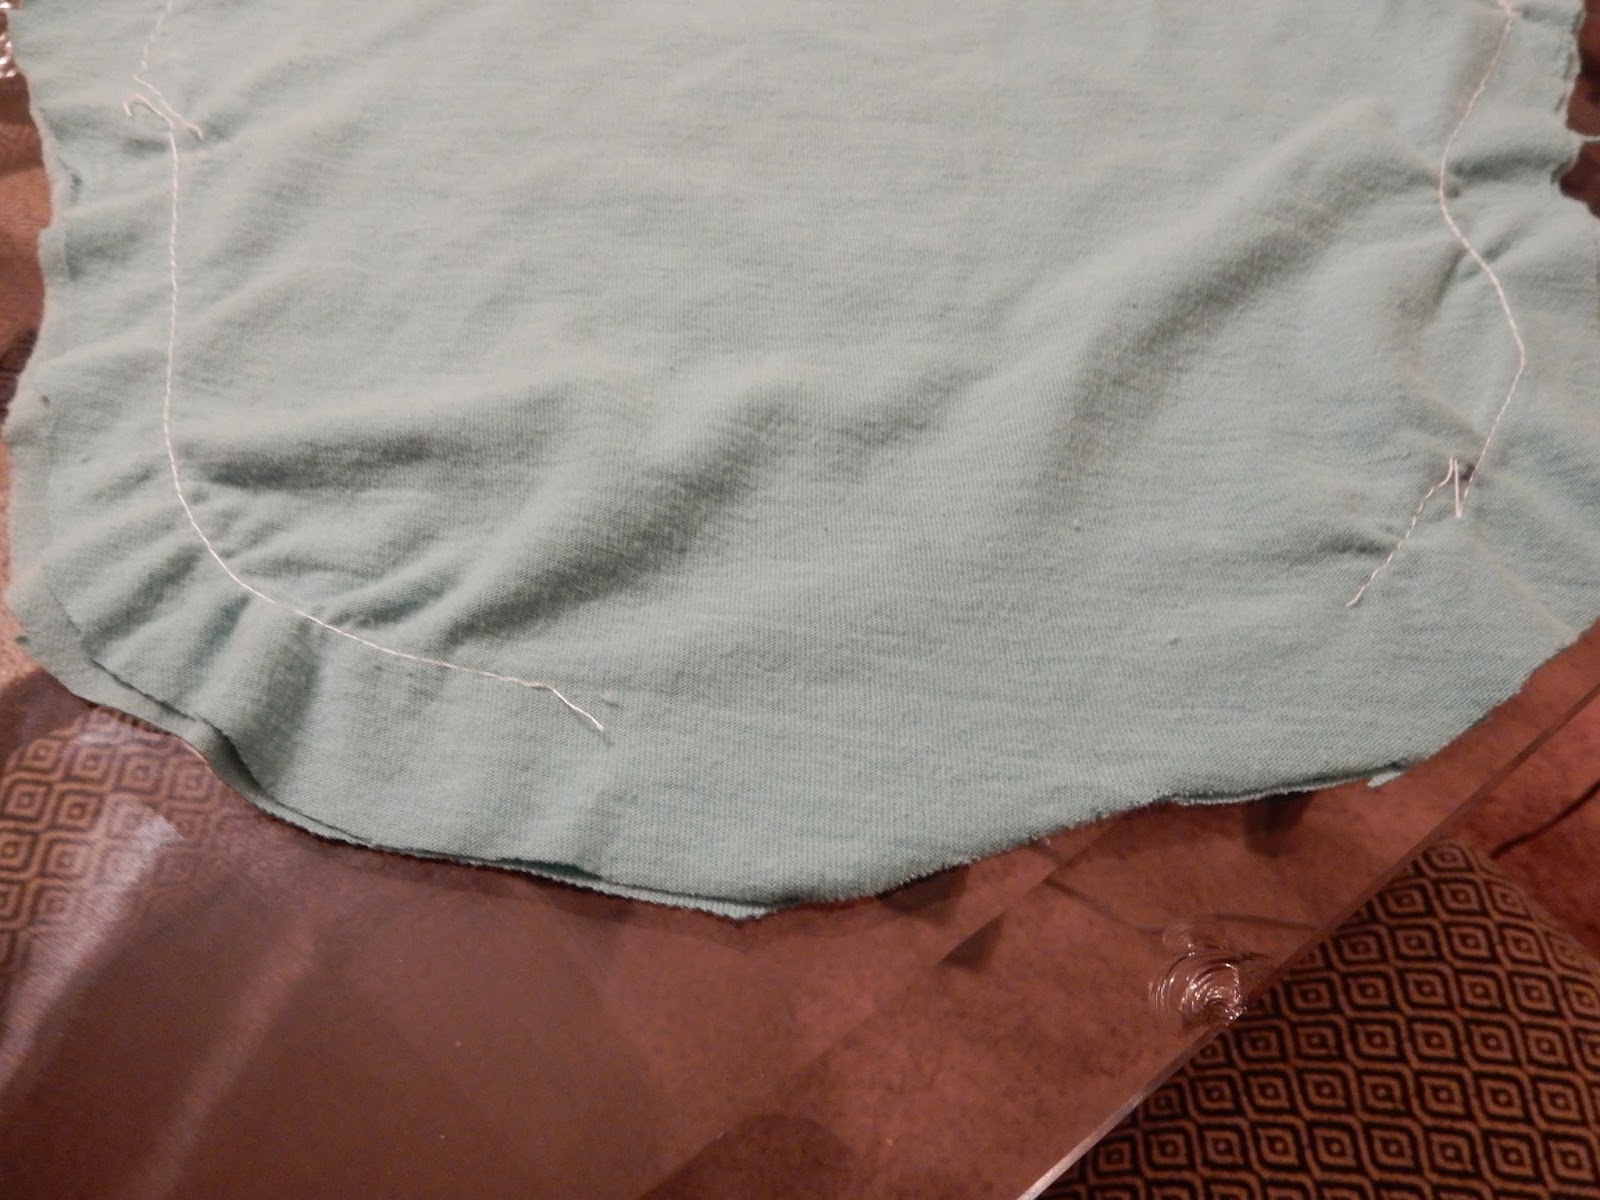
 I sewed the material together using my mini sewing machine and left the bottom material unsewn, see below picture. Turn the material right side out (logo design out) and stuff the pillow. 
 Once the pillow is stuffed, fold the edges inwards and pin down. 
Sew the material as close to the edge as possible for a finished look and voila!
I had a voodoo souvenir t-shirt that did not fit well but I loved the skeleton so now I have two mini t-shirt pillows. Follow the same procedures for sewing. 


Wednesday, September 13, 2017

Painting on the moon


An Astronaut in space, looking at the moon


A close up of the drawing 


In the top right corner I added the big dipper constellation. 


 Finished! my initials in a connected constellation.

And here are some of my photos of the beautiful moon. 
Taken in Altamonte Springs, FL
Taken in High Springs, FL
In High Springs on a night kayaking trip.
Taken in New Orleans

DIY Mary Sanderson Costume

DIY Mary Sanderson costume from the thrift store.                                     It's just a bunch of Hocus Pocus!  DIY video: Find...