Search This Blog

Tuesday, July 17, 2018

Hey, look at that! you painted another skull...


Grand blue skull painting:
I bought a large canvas (3ftx4ft) and I already knew I wanted to paint a skull...the trouble was picking the style. 
At first I liked the double skull from different angles but later decided on a skull sitting back.

Started by painting the background a matte black. 
After drawing out my stencil from a photo on Google, I traced the stencil with pencil. 

 I used bright blue, dark blue, cobalt blue, and pool blue along with white and black acrylic paint to shade.

  I added gold accents around the shaded areas and on his teeth and then I made a masking tape border (photo on left) and painted it in with gold. 
My cat, Keanu, hanging out in the background as usual

 TA DAH!

Tuesday, July 3, 2018

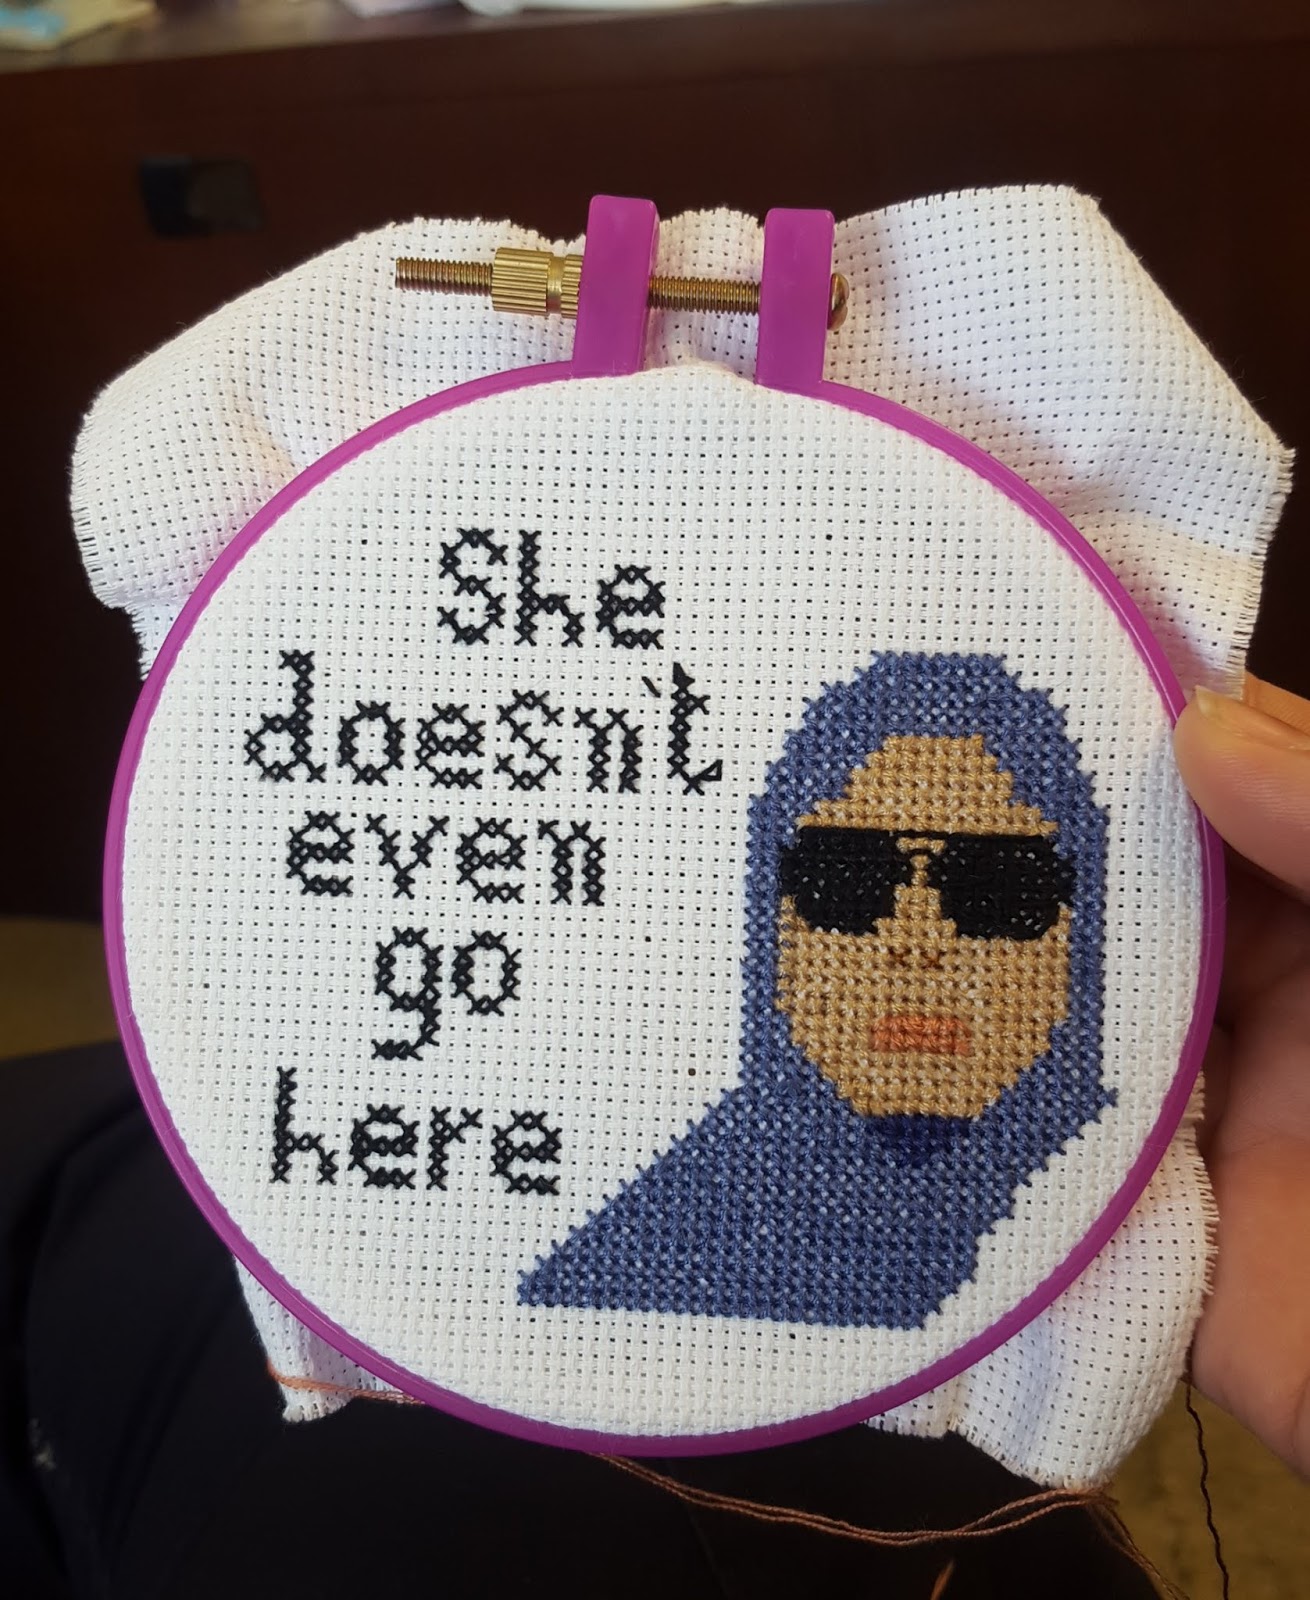
Going cross-stitch crazy


Some of my cross-stitch projects = keeping it classy

 "She doesn't even go here!" - Damian 2004
If I could stitch ALL THINGS Mean Girls, I would!


Odd placement, but temporary


 I've been brushing up on my palm reading and thought this would be a nice reference guide. 
I tried to color-coordinate the line names with the astrological color
and added embellishments 


Some lite reading for the bathroom:


Sunday, May 13, 2018

Dressing up an old light fixture x2

 Old-world map antique light fixture: 

My mom inherited an antique Hong Kong style lamp. 
The original lamp shade was falling apart (even from a lite touch) because it was very old.

 My mom (who doesn't like to throw anything out) thought it would be a nice mother-daughter project to re-upholster the shade. 
The shade frame came apart in four sections (2 long & 2 short)
We bought a yard of fabric for around $3 at Old Time pottery and had excess material left over when cutting out the size of each frame (after added half and inch of fabric to each side)
I used Aleene's No-Sew fabric glue and added a small line to each frame and folded the fabric in (sorry no pictures)
Image result for Aleene's No-Sew fabric glue

We let it dry 30 minutes and attached the four sides and Vwa-lah!


Old paper lantern re-make:
Looking at my old teenage colorful paper lanterns made me feel like I was back in high school.
I decided to spruce them up with gold acrylic paint and spraying the green light cord black.
Painting the lanterns with a brush was time consuming so I'll be trying gold spray paint for the second set but I am a little nervous about its flammability...
New vs. Old *unfortunately the color still shines throw when turned on (left strand) 

Used Antique Gold acrylic paint 


Black painted cord from the original green

Without the lights turned on

Tuesday, April 3, 2018

Cinder block planters for the backyard


When I first moved into my house I noticed an abundance of cinder blocks under my house. (Also 3 tires which I have yet to do anything with)
I have an odd backyard, it used to be covered by brown leaves and my landlord advised they finally uncovered an old deck and took it apart (leaving the foundation frame
My backyard when I started racking up the leaves.
I drug out all of the cinder blocks and decided to spray paint different designs and make them planters.
First I cleaned off the side of the blocks with a broom.
I used painters tape to make my designs and spray painted with gold, white, and black.
They dried very quickly (Also concrete is porous and you might need to spray another layer of paint if it looks like it disappeared).
Once they were all finished I lined them up on the foundation frame.
I added small rocks and concrete chips (also found under the house) since I did not want to fill up the whole hole with soil.
I cut up an old metal mesh trashcan from Dollar Tree into small strips and then fit them on top of the rocks to keep the soil from falling through (some still will). 
After filling the holes with soil I added the flowers.
I purchased my flowers from Lowes for around $1.25 each.
*My flowers are shade-tolerant since my backyard is covered by the branches of a neighboring oak(?) tree. 
Now I need to buy patio furniture : ( 

Tuesday, October 17, 2017

Yarn Tassel Wall Decor

 DIY Yarn Tassel Wall Decor


What you'll need:
That's Keanu the cat, he has to hang around on the table when I am using it of course. 
  • Yarn ($2 at Big Lots)
  • Rod with hanging string
  • Scissors


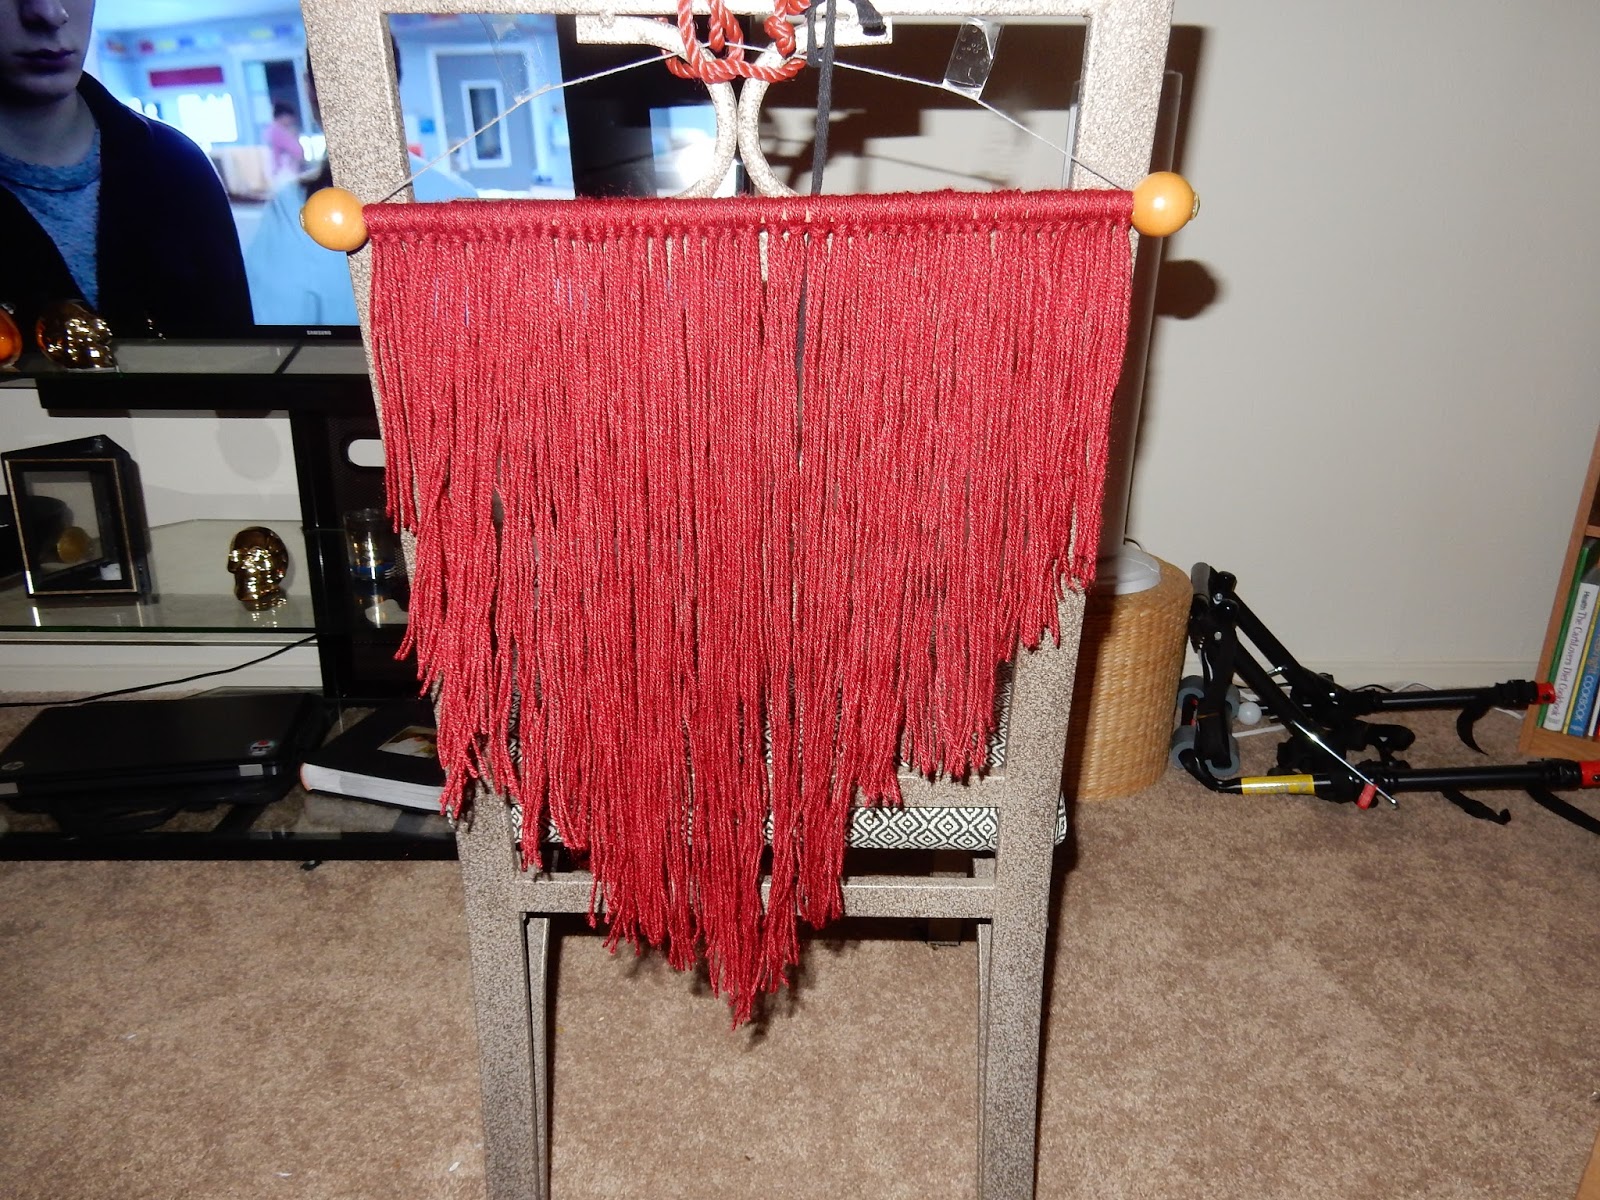
First I hung the rod up on the back of my chair for easier access.
Then I cut the string at various lengths. 
 And here is Keanu stepping over my stuff. 

Tie the strings in a "cow hitch" style onto the rod. 
Here is an example of two types of knotting, one string vs three strings. I preferred the three string style because it was less time consuming and the thicker style looked neater. 
Now that I added all the string it's time to cut the angle. 
I moved the rod to my wall and placed tape (hard to see in picture) on the string to make sure my angle edges were straight. 
And snip, snip, snip
Now lets make some tassels!
 I tied the tassels at different lengths and hung that BE-OTCH up. 
 

DIY Mary Sanderson Costume

DIY Mary Sanderson costume from the thrift store.                                     It's just a bunch of Hocus Pocus!  DIY video: Find...